Whether you want to create content for a school or work project, record a tutorial, or make a video for social media, your Chromebook has everything you need. If you’re new to Chromebooks or just haven’t tried using the camera app for this purpose yet, we’ll walk you through the steps to get you recording videos in no time.
All Chromebooks come with a built-in camera app that has received many great features and updates over the years, making it easy to record videos without any additional tools. Here’s what you need to do:
1. Open the Camera app
The first step is to locate and open the Camera app on your Chromebook:
- Click on the Launcher (the circle icon in the bottom-left corner of your screen).
- In the search bar, type “Camera” or scroll through your apps until you see the Camera app icon.
- Click on the Camera app to open it.
2. Switch to video mode
The Camera app opens in photo mode by default, so you’ll need to switch to video mode to start recording a video:
- Once the Camera app opens, you’ll see options like Photo, Video, and Square.
- Click on Video to switch modes.
 3. Adjust your settings
Before you hit record, you might want to adjust a few settings, like changing the resolution or how your video is captured. You don’t have to do this, but it’s good to know these options as they might come in handy in different situations.
Resolution:
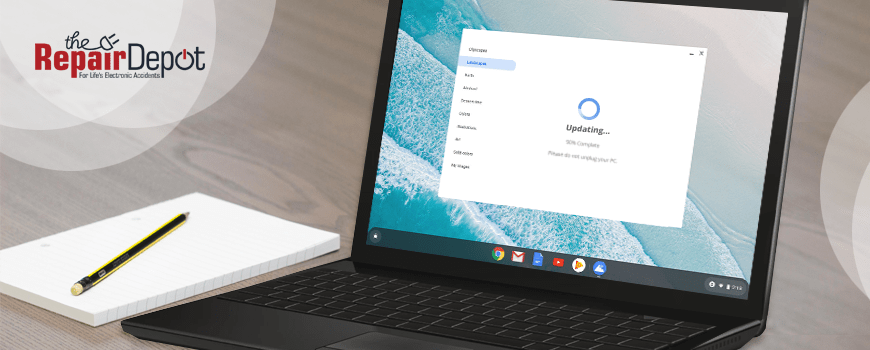
To check or change the resolution, click the gear icon (settings) at the top-right corner of the Camera app. Keep in mind that the Camera app automatically selects the best resolution based on your Chromebook’s hardware—higher resolution will give you better video quality, but it may take up more storage space.
Camera view:
The Camera app includes options like Mirroring, Grid, and Switch camera you can also use.
- Mirroring flips the camera view horizontally to mimic how you would see yourself in a mirror.
- Grid adds a 3x3 grid overlay to help align and improve the video composition.
- Switch camera lets you switch between cameras if you have an external camera or your Chromebook has two built-in cameras (front and back).
Countdown timer:
You can also set a countdown timer by clicking the stopwatch icon on the left side of the Camera app. This will allow you to delay time before recording starts, giving you a few seconds (usually 3 or 10 seconds) to get into position before the video begins.
Time-lapse video:
If you want to make a time-lapse video on your Chromebook, select Video > Time Lapse. You can choose between different speeds for your time-lapse to achieve the desired effect.
 4. Start recording
When you’re ready, just press the red record button to start recording. Your Chromebook will start capturing video, and you’ll see a timer that lets you know how long your video has been running.
While recording, you can:
- Pause the video if you need a break. Just press the pause button and your Chromebook will save the video. When you want to continue, just click the same button and your Chromebook will pick up right where you left off.
- Take a photo if you want to. Just click Take video snapshot (grey button, usually located above the record button), and you Chromebook will take a snapshot.
5. Stop recording
When you’re done, press the red stop button to stop recording. The video will automatically save to your Files app in the Camera folder. Here, you can find your video, watch it to make sure it turned out the way you want, or rename it.
If you’re happy with it, you can keep it stored locally or upload it to Google Drive, YouTube, or any other platform directly from your Chromebook. If you want to polish your video a bit before sharing, there are several ways to do it.
 How to edit videos on a Chromebook
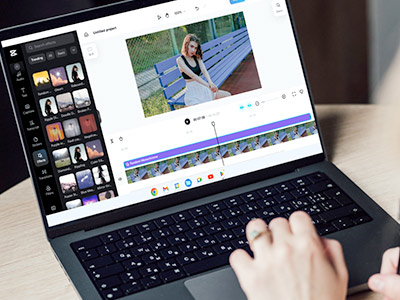
Once you’ve recorded your video, you might want to trim it, add some music, apply filters, or make other adjustments. If you need some simple edits to your video, you can use the Google Photos app on your Chromebook. Remember, you’ll need the latest version of this app to do this. Here’s how:
- Open the Google Photos app.
- Navigate to the Videos section and tap the video you want to edit.
- Once the video is open, choose the editing tool you want to use.
- After making all your edits, click Save to save your video.
It’s worth mentioning that it will save the edited version of your video, overwriting the original file. If you want to keep the original version, be sure to make a copy before editing your video.
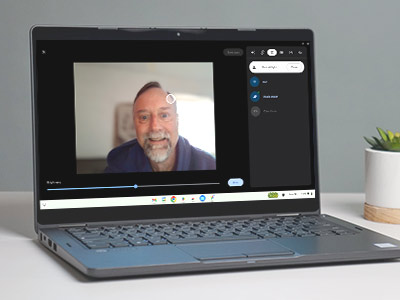 If you have a Chromebook Plus, you can use extra editing features like Magic Editor, Magic Eraser, and Unblur. You can also use video editing tools like WeVideo, Clipchamp, and Kapwing (all web-based) that let you do everything from basic cuts to advanced editing.
Tips for recording better videos on a Chromebook
Lighting: Make sure you have good lighting, especially if you’re using the built-in webcam. Natural light from a window or well-lit room can make a huge difference in video quality.
Background: Pay attention to what’s behind you in the shot. A clean, simple background usually works best.
External microphone: If you want better audio quality, consider using an external microphone. Many budget-friendly mics can drastically improve sound clarity, especially if you’re recording yourself singing or playing an instrument.
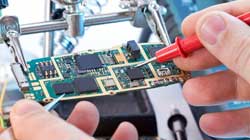
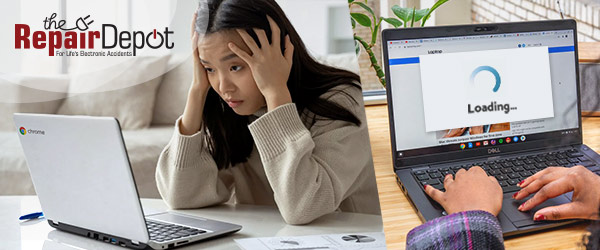
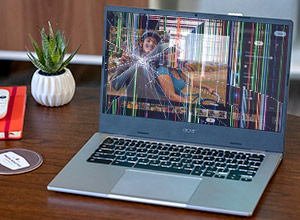
 If you’re experiencing any issues with your Chromebook, like a defective camera, microphone, cracked screen, broken keyboard, or faulty battery, let our professional technicians take a look. Our expertise in Chromebook repairs sets us apart, ensuring that your device receives the attention it needs, all at an affordable price. The Repair Depot understands how important your Chromebook is for daily tasks, which is why we focus on delivering fast, reliable solutions without breaking the bank. Grab a repair quote today to get started!
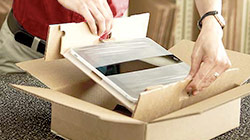
 If you want to protect your Chromebook from common mishaps, consider getting comprehensive Chromebook Insurance by Worth Ave. Group. Cracked screens, accidental drops, liquid spills, theft, and more are covered with unlimited claims! Parents can get a Chromebook Insurance quote for their kid’s device, while K-12 schools and districts can get a K-12 Chromebook Group Insurance quote for their device fleet!